Central air conditioning systems are a vital component of modern homes, especially during the scorching summer months. However, when your AC malfunctions, it can lead to discomfort and frustration. Fortunately, many common AC issues can be diagnosed and resolved without the need for professional assistance. In this guide, we’ll walk you through the troubleshooting process, helping you identify and address potential problems with your central AC unit.
1. Check the Capacitor
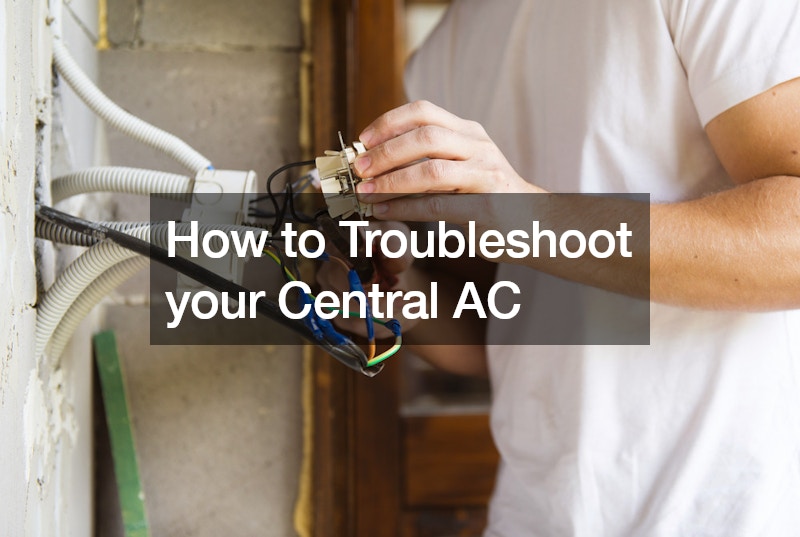
One of the most common issues with central AC units is a faulty capacitor.
The capacitor is responsible for storing and releasing electrical energy to help start the compressor and fan motors. Signs of a bad capacitor include the AC not starting or the compressor making unusual noises.
Before attempting to check or replace the capacitor, always disconnect the power supply to the AC unit to prevent electrical shocks or injuries. Additionally, ensure you have the necessary tools, such as a multimeter, and familiarize yourself with the capacitor’s location and wiring diagram.
When measuring the capacitor’s capacitance with a multimeter, pay close attention to the reading. If it deviates significantly from the rated value, it indicates a potential issue requiring replacement. However, if you’re unsure about the process or lack experience working with electrical components, it’s best to seek assistance from a qualified technician.
Remember, improper handling of electrical components can pose serious risks to your safety and may cause further damage to your AC system. Always prioritize safety and consider hiring a professional AC repair and service technician for complex repairs or inspections. By taking these precautions, you can ensure a safe and effective troubleshooting process for your central AC unit.
2. Inspect for Refrigerant Leaks
Low refrigerant levels can hinder your AC’s cooling performance and may indicate a leak in the system. Signs of a refrigerant leak include reduced cooling efficiency and ice buildup on the evaporator coil. Use a refrigerant leak detector or soapy water to check for leaks around the refrigerant lines and connections. If you suspect a leak, it’s essential to contact a professional AC repair and service technician to locate and repair the issue safely.
3. Clean the Condenser Coils
Dirty condenser coils can reduce your AC’s efficiency and lead to overheating issues. Inspect the outdoor unit and remove any debris, such as leaves, dirt, or grass clippings, from the coil fins. Use a gentle stream of water from a garden hose to clean the coils thoroughly. For stubborn dirt buildup, consider using a coil cleaner or contacting a professional AC technician for assistance. Regular maintenance of your condenser coils can help prolong the lifespan of your central AC system and improve its performance.
4. Check the Condensate Drain
A clogged condensate drain can cause water leakage around the furnace and affect your AC’s cooling efficiency. Inspect the condensate drain line for blockages and clear any debris using a wet/dry vacuum or a pipe cleaner. Additionally, ensure that the condensate pan is clean and free of mold or algae buildup, which can contribute to clogs. Regularly cleaning and maintaining the condensate drain can prevent water damage to your home and prolong the life of your central AC system.
5. Test the Control Board
Issues with the control board can cause erratic behavior or a complete failure of your central AC unit. Check for signs of damage, such as burnt or melted components, on the control board. Use a multimeter to test for proper voltage output from the control board to the compressor and fan motors. If the control board is faulty, it may need to be replaced by a qualified technician to ensure proper operation of your AC system.
6. Replace Worn-Out Components
Over time, components such as capacitors, fan motors, and contactors may wear out and require replacement. If you notice any signs of wear or damage during your troubleshooting process, it’s essential to replace these components promptly to prevent further issues. Consult your AC manufacturer’s manual or contact a professional AC repair and service technician for assistance with identifying and replacing worn-out parts.
7. Maintain Clean Filters
Dirty air filters can restrict airflow and reduce your AC’s cooling efficiency. Check your AC filters regularly and replace them as needed, typically every one to three months, depending on usage and filter type. Additionally, ensure that the filter size matches the specifications recommended by your AC manufacturer. Regularly changing your AC filters can improve indoor air quality, reduce energy consumption, and prolong the lifespan of your central AC system.
In conclusion, troubleshooting your central AC unit can help identify and resolve common issues that may arise during operation. By following these steps and performing regular maintenance, homeowners can ensure their AC system operates efficiently and effectively, keeping their homes cool and comfortable year-round. However, for complex or hazardous issues, it’s essential to seek professional AC repair and service to ensure the safety and reliability of your central AC system.
